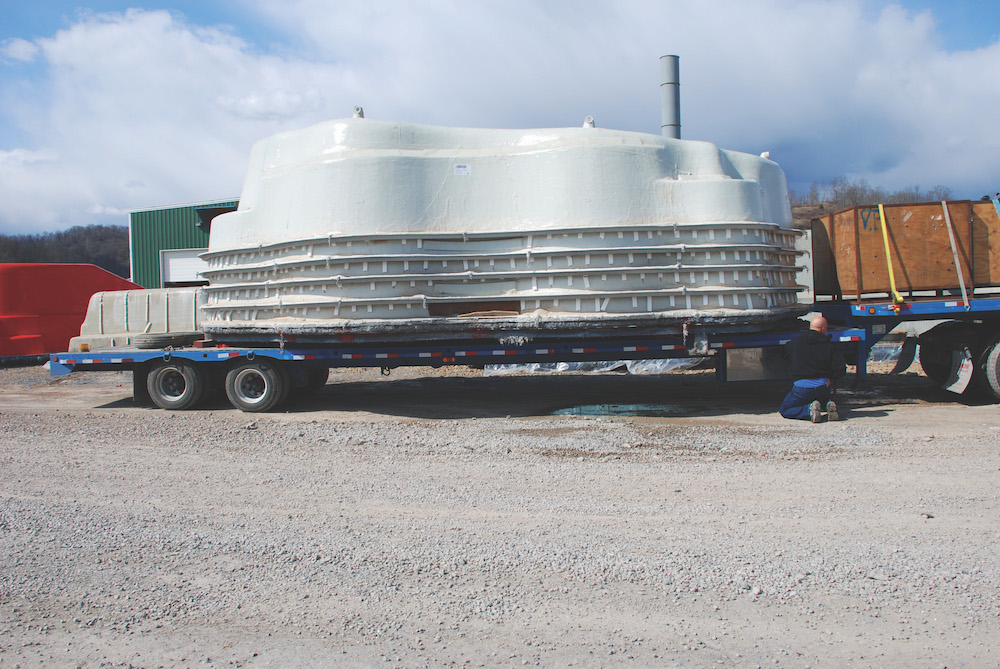
Latham fiberglass pools effortlessly marry aesthetics with durability, making them the gold standard in the industry. These pools undergo a meticulous crafting process and rigorous quality inspections, ensuring they not only meet but exceed the expected lifespan of alternative pool types like gunite or vinyl liners by a significant margin.
One of the standout features that sets Latham fiberglass pools apart is their remarkable ease of maintenance. The non-porous surface of these pools resists the unsightly growth of algae, which not only simplifies the cleaning process but also ensures that your pool remains a pristine focal point of your backyard retreat.
The versatility in shapes and sizes that Latham offers is nothing short of impressive. Whether you envision a sleek rectangular pool or a more freeform design that seamlessly integrates with your landscape, Latham fiberglass pools offer a range of options to cater to your unique yard configuration and personal preferences.
Now, let’s delve into the installation process, which is where the magic truly happens…
The first step in the manufacturing process of a Latham fiberglass pool is to prepare the mold. A mold is a negative impression of the pool’s shape and size. The mold is carefully cleaned, polished, and prepared for the fiberglass application process.
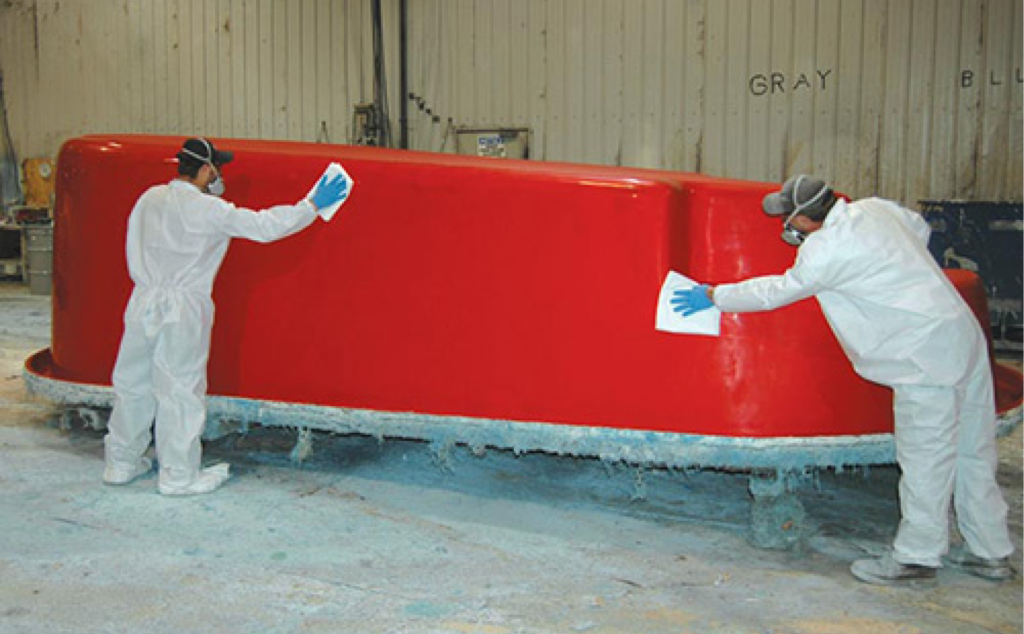
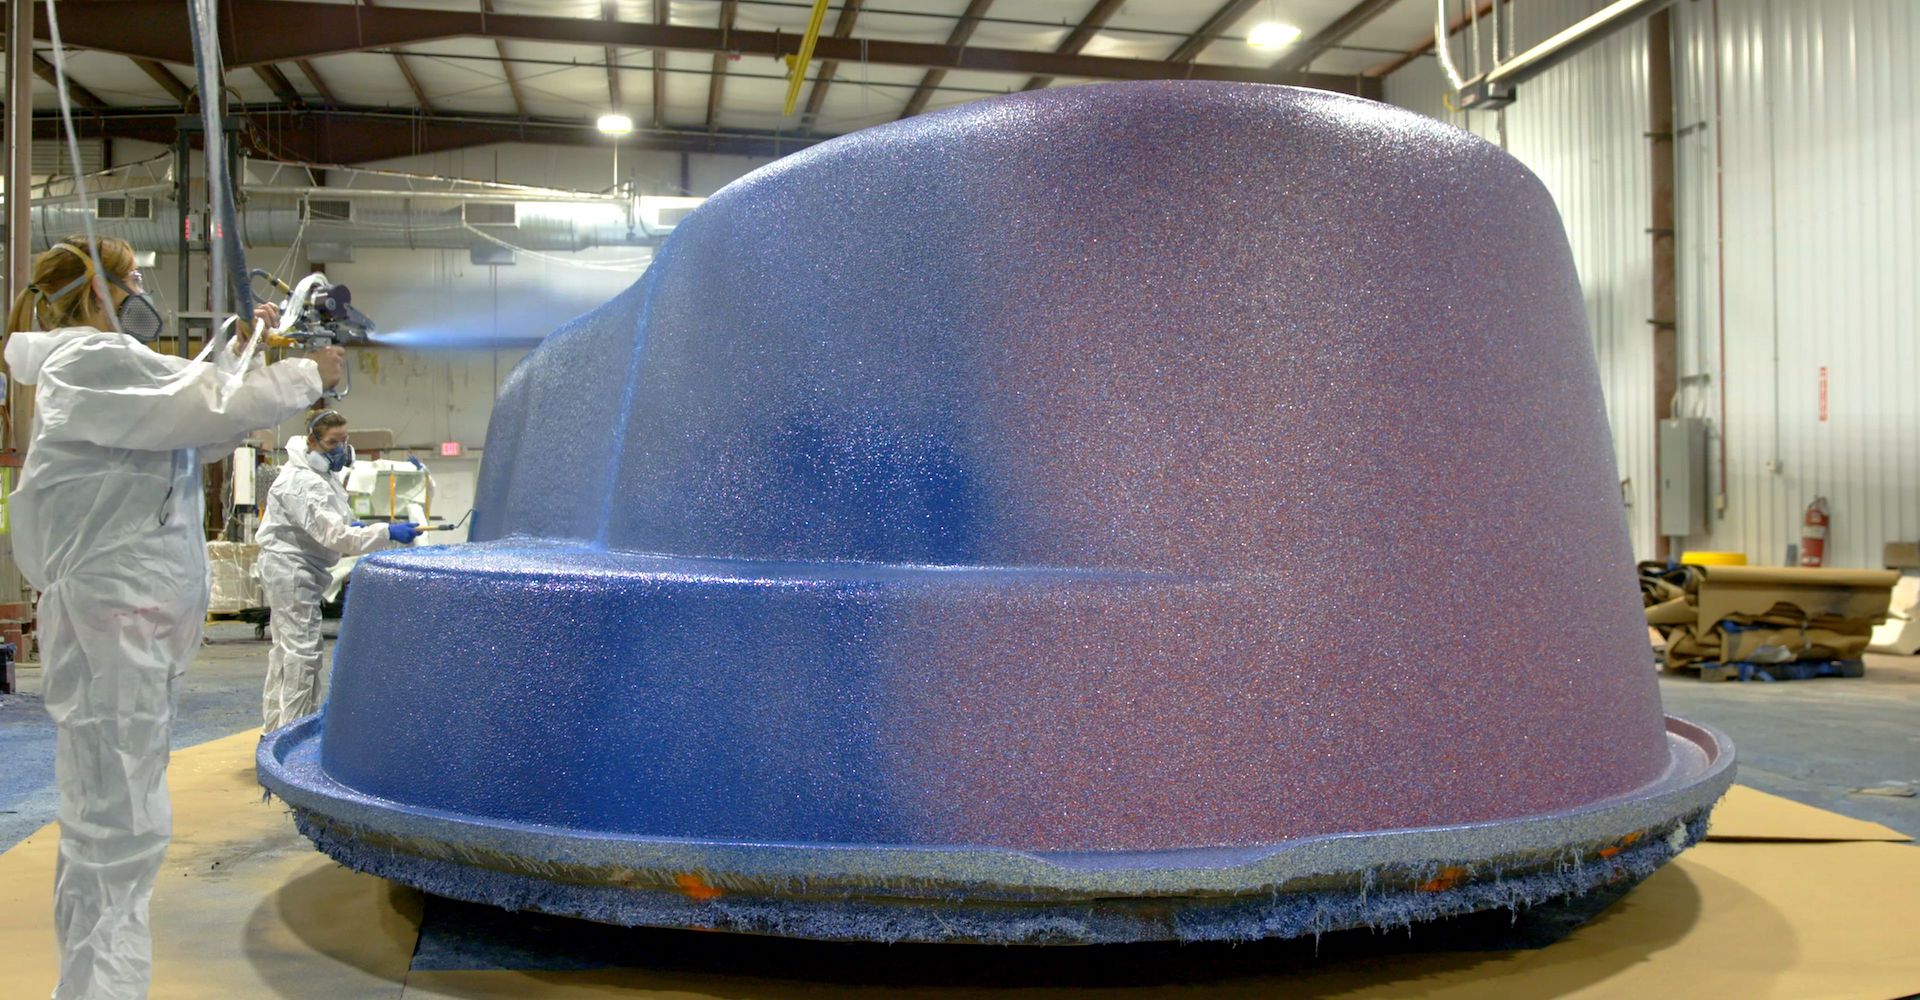
Once the mold is prepared, a gel coat is sprayed onto the surface of the mold. The Lifetime standard gel coat or Crystite® Collection finish provides the pool’s surface with a smooth, glossy finish. This layer also serves as a barrier between the fiberglass and the environment, protecting the pool from corrosion and degradation.
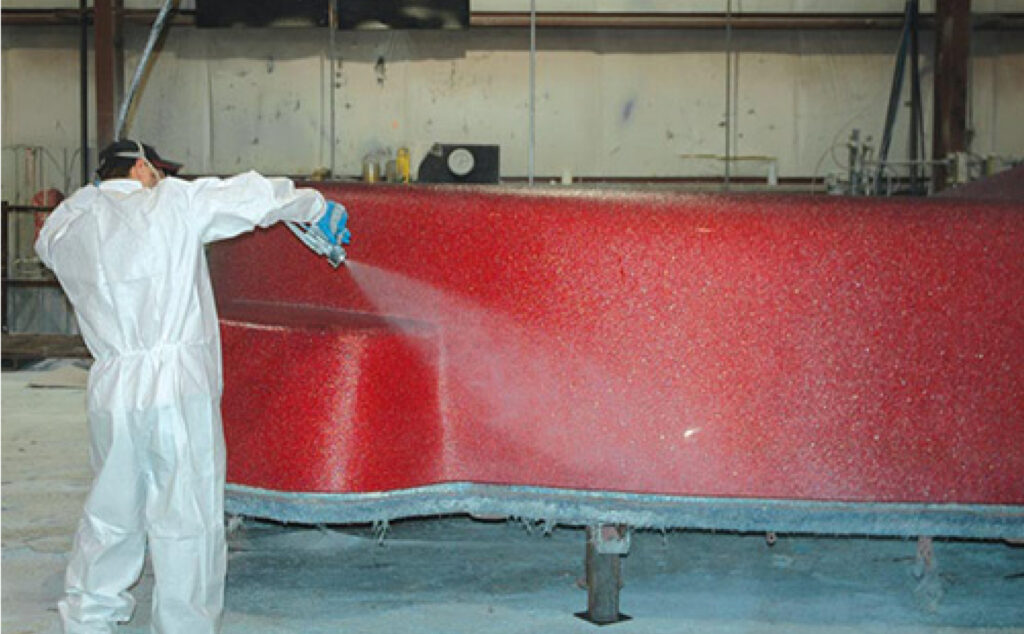
The mold is then skillfully coated with a resilient layer of vinyl ester resin, and applied through a precision spraying process. This application of vinyl ester resin serves as a protective shield, enhancing the durability and longevity of the final product’s finish.
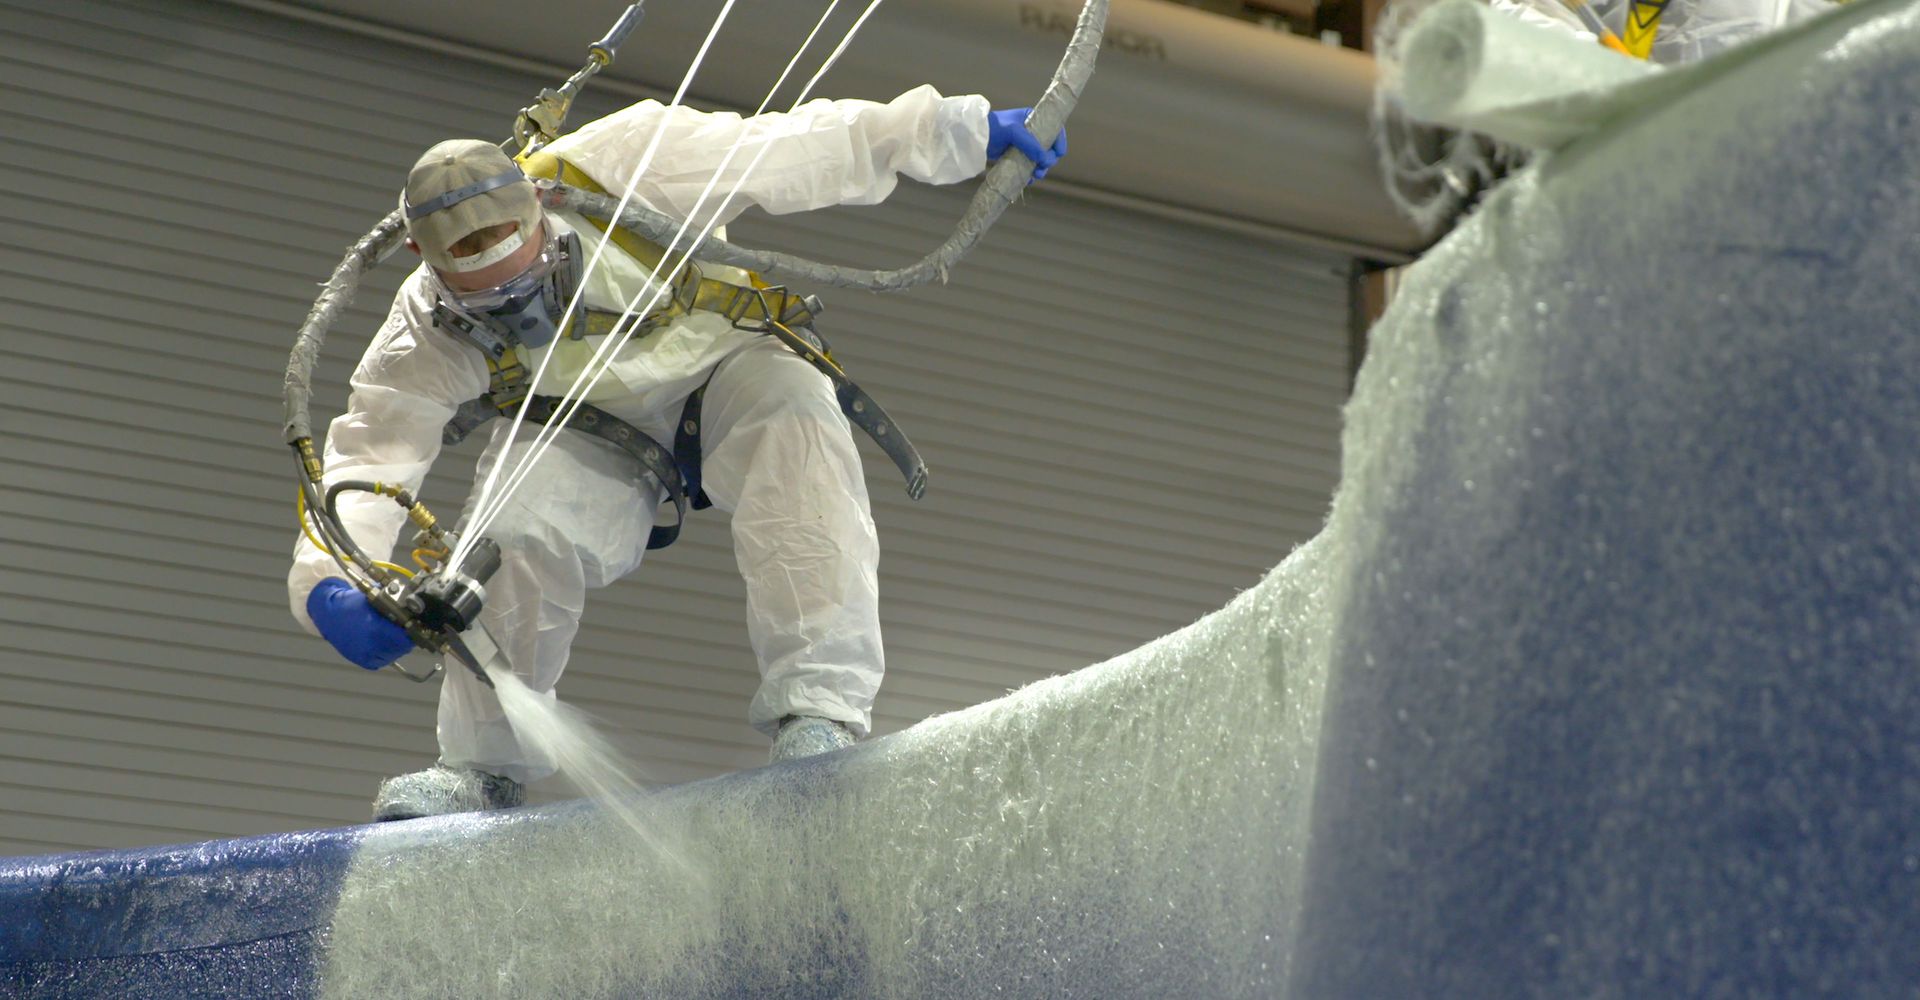
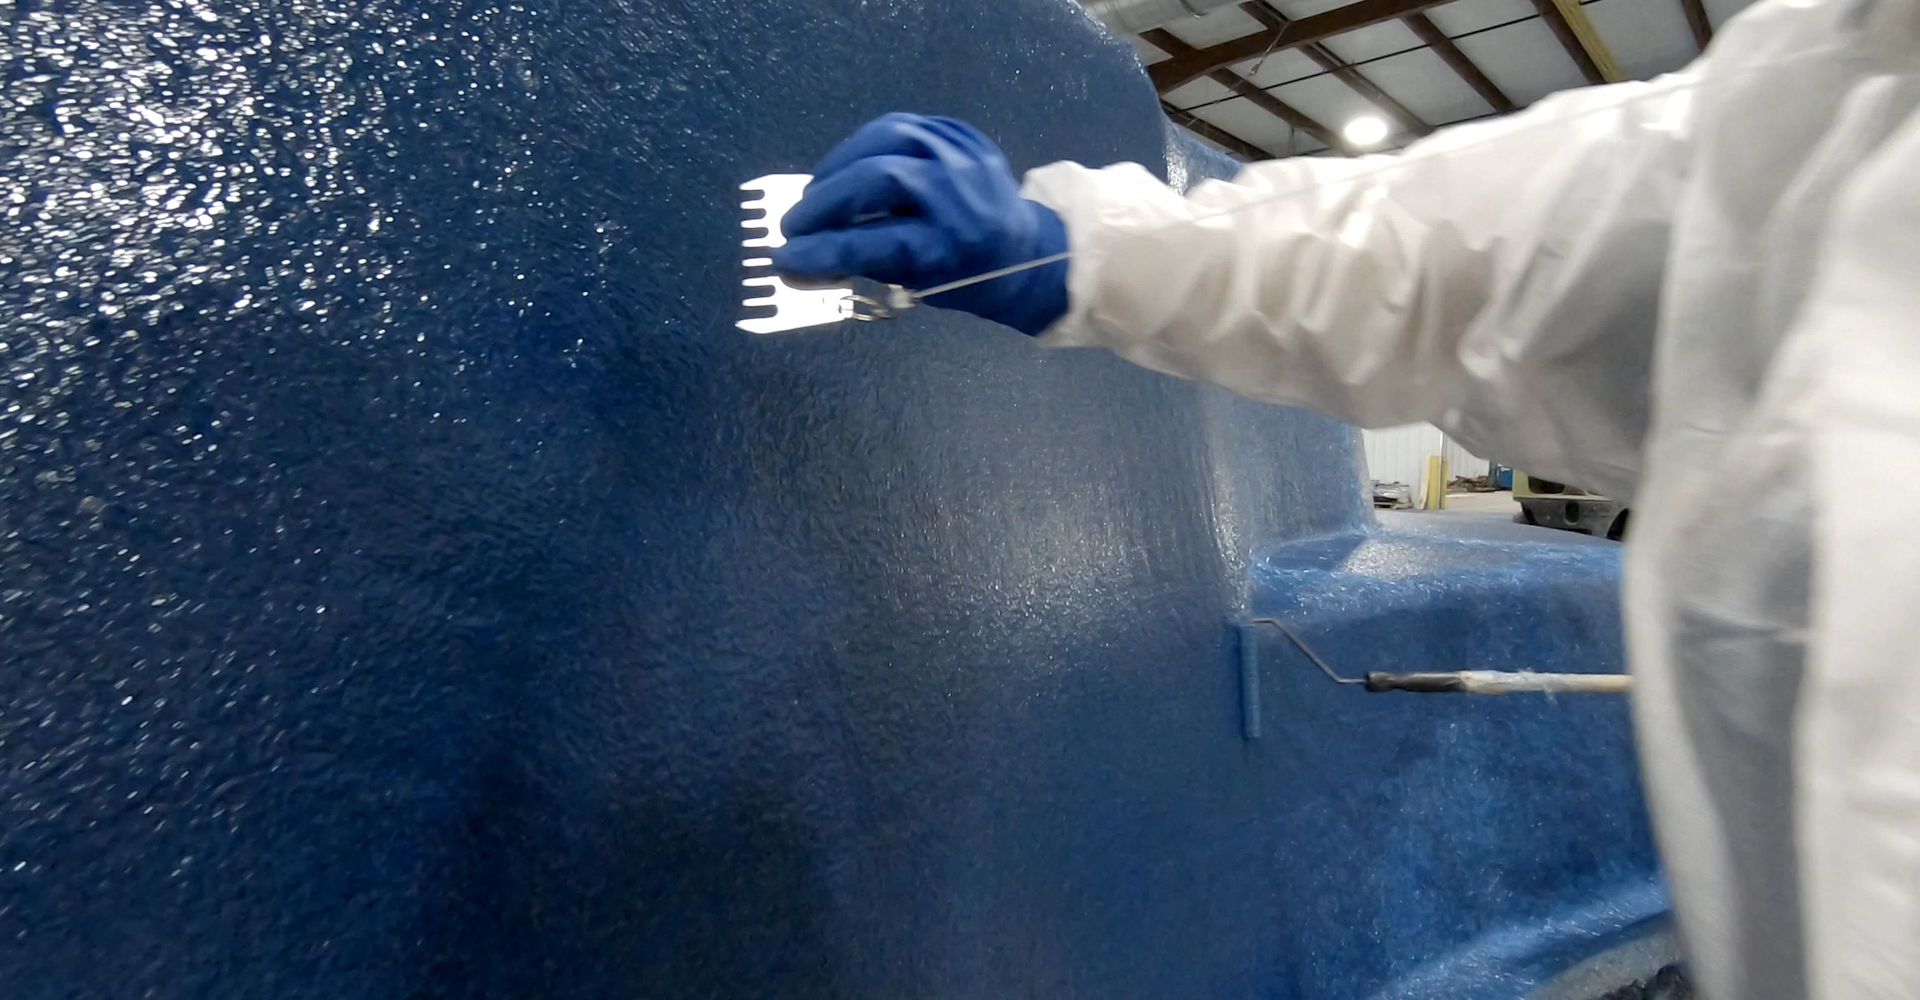
Once the gel coat has cured, fiberglass layers, made from resin-infused woven glass fiber mats, are added to the mold. These layers are incrementally built up to reach the desired thickness, strength, and durability, while also being meticulously shaped to match the mold’s contours.
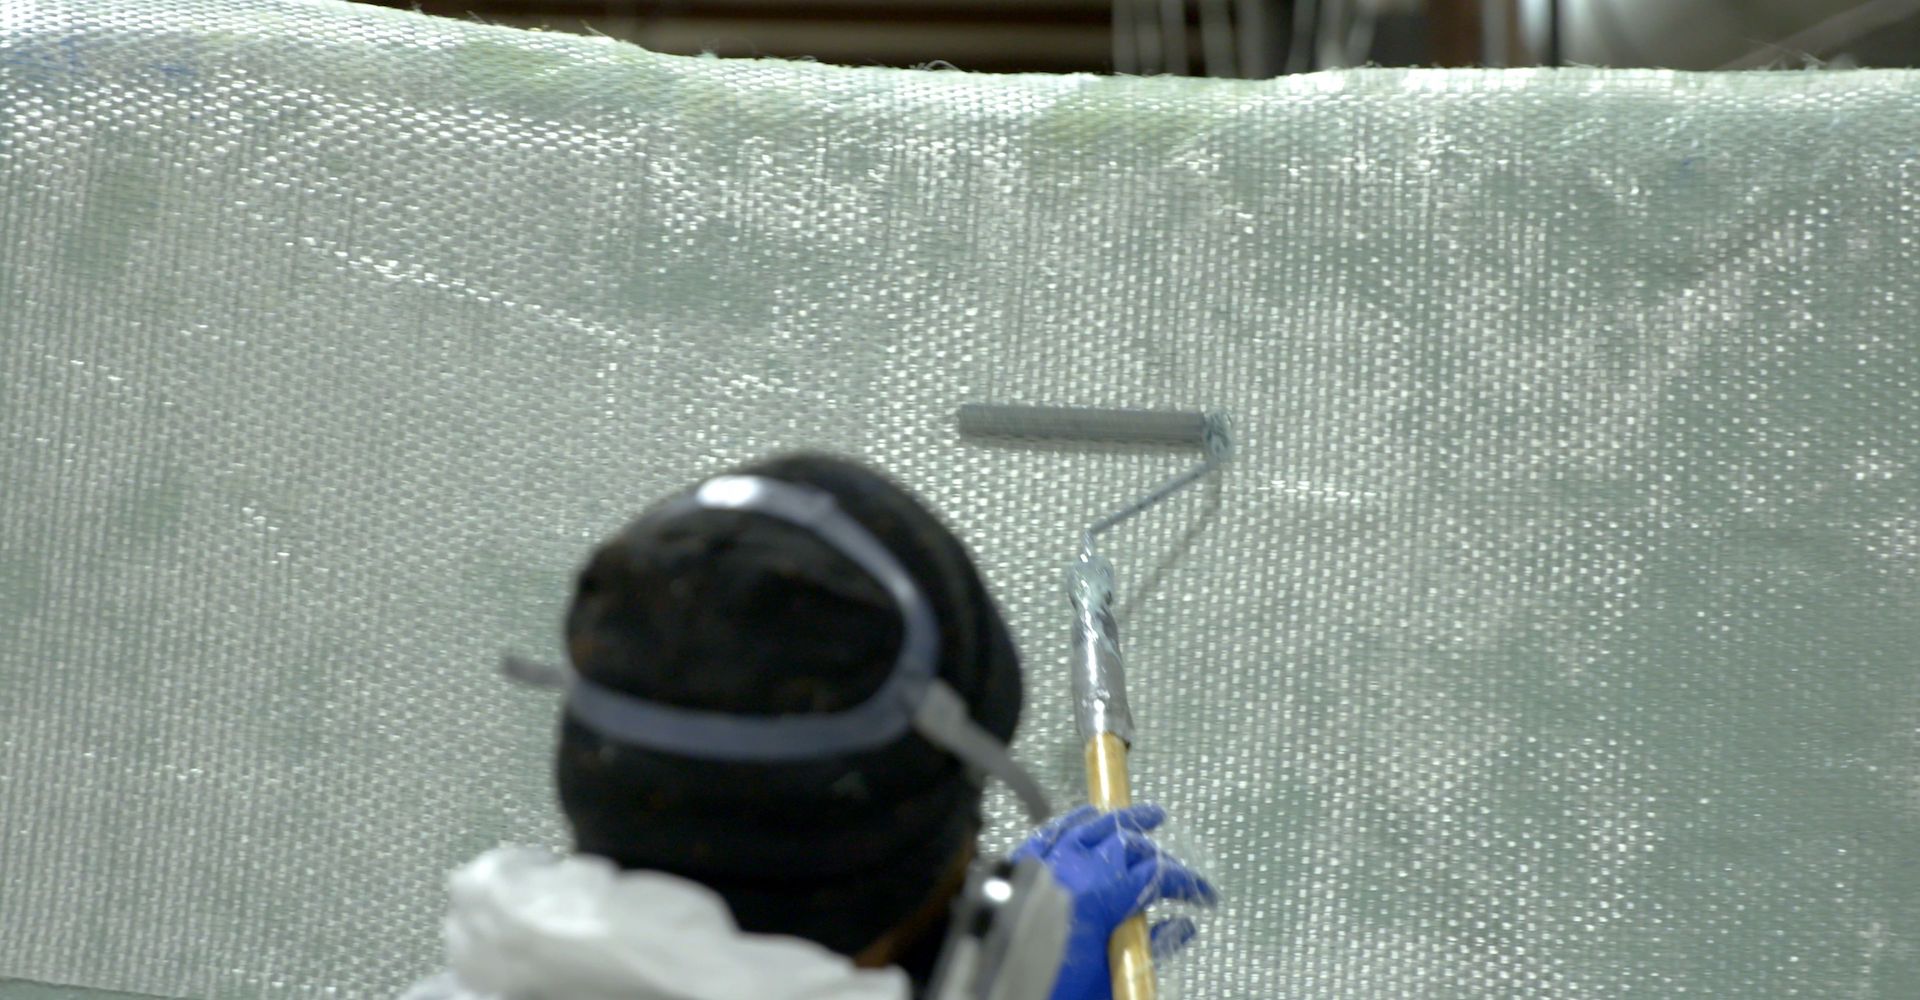
Within each pool, a ceramic core serves as the central component, surrounded by layers of protective fiberglass infused with vinyl ester resin. This combination not only elevates water resistance but also significantly bolsters the overall durability.
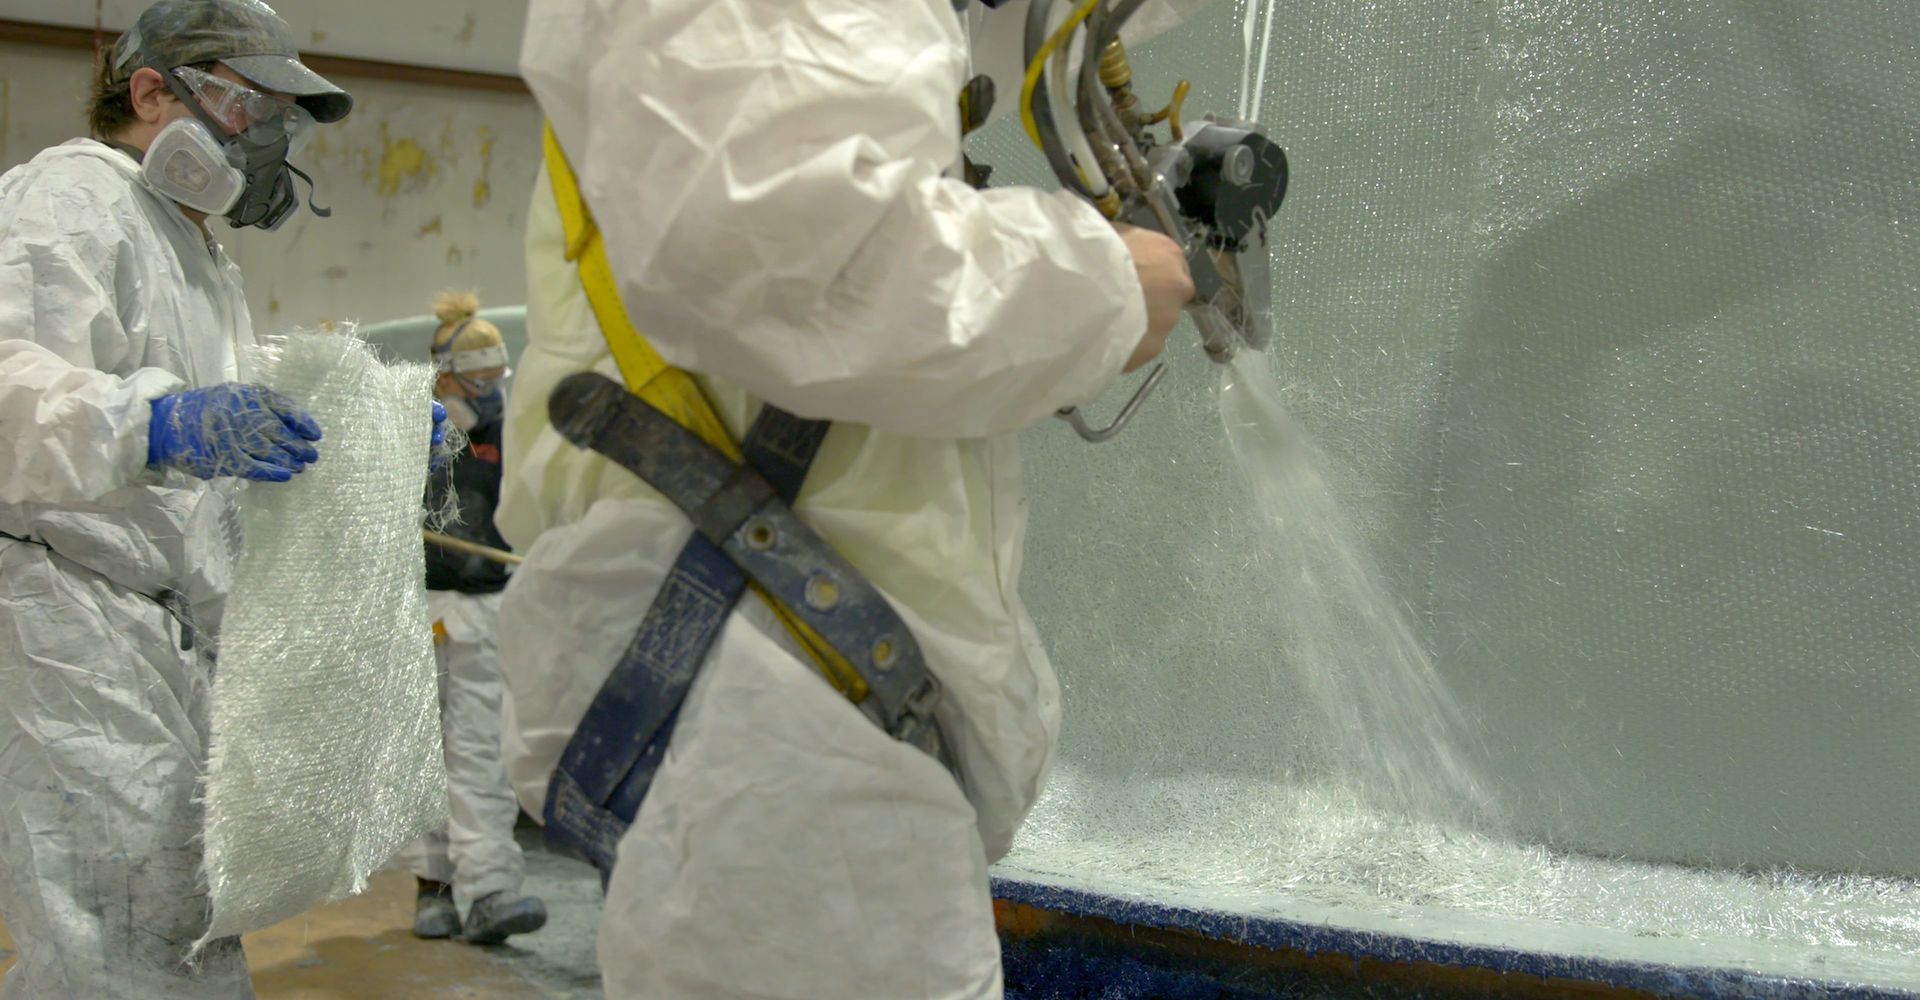
Supplementary layers of chopped fiberglass are meticulously hand-applied across the pool, serving the dual purposes of augmenting strength and creating a corrosion-resistant barrier. This method ensures heightened structural integrity, as each pool section undergoes thorough inspection and is seamlessly incorporated into the assembly.
As part of the installation procedure, honeycomb vertical supports are introduced to provide essential wall reinforcement. Subsequently, the closed-beam construction is finalized, fortifying the coping surrounding the pool and simplifying the pool’s lifting process. Additionally, chains are incorporated to facilitate the loading and unloading operations for added convenience.

The pool is then carefully lifted out of the mold using specialized equipment.
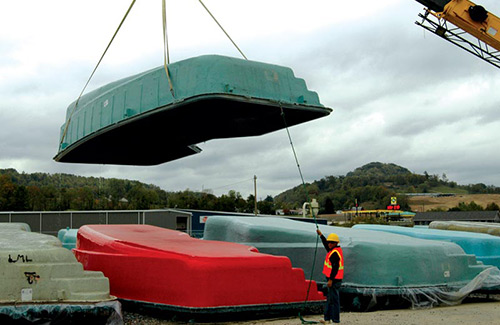
The final touches are added based on each pool’s specifications, creating a beautifully crafted product that is ready for delivery.
The swimming pool is then carefully loaded and secured onto a truck and is ready to be delivered and installed.
